How to Build a Grazing Table
Create an impressive spread that looks professional and feeds a crowd without the stress.
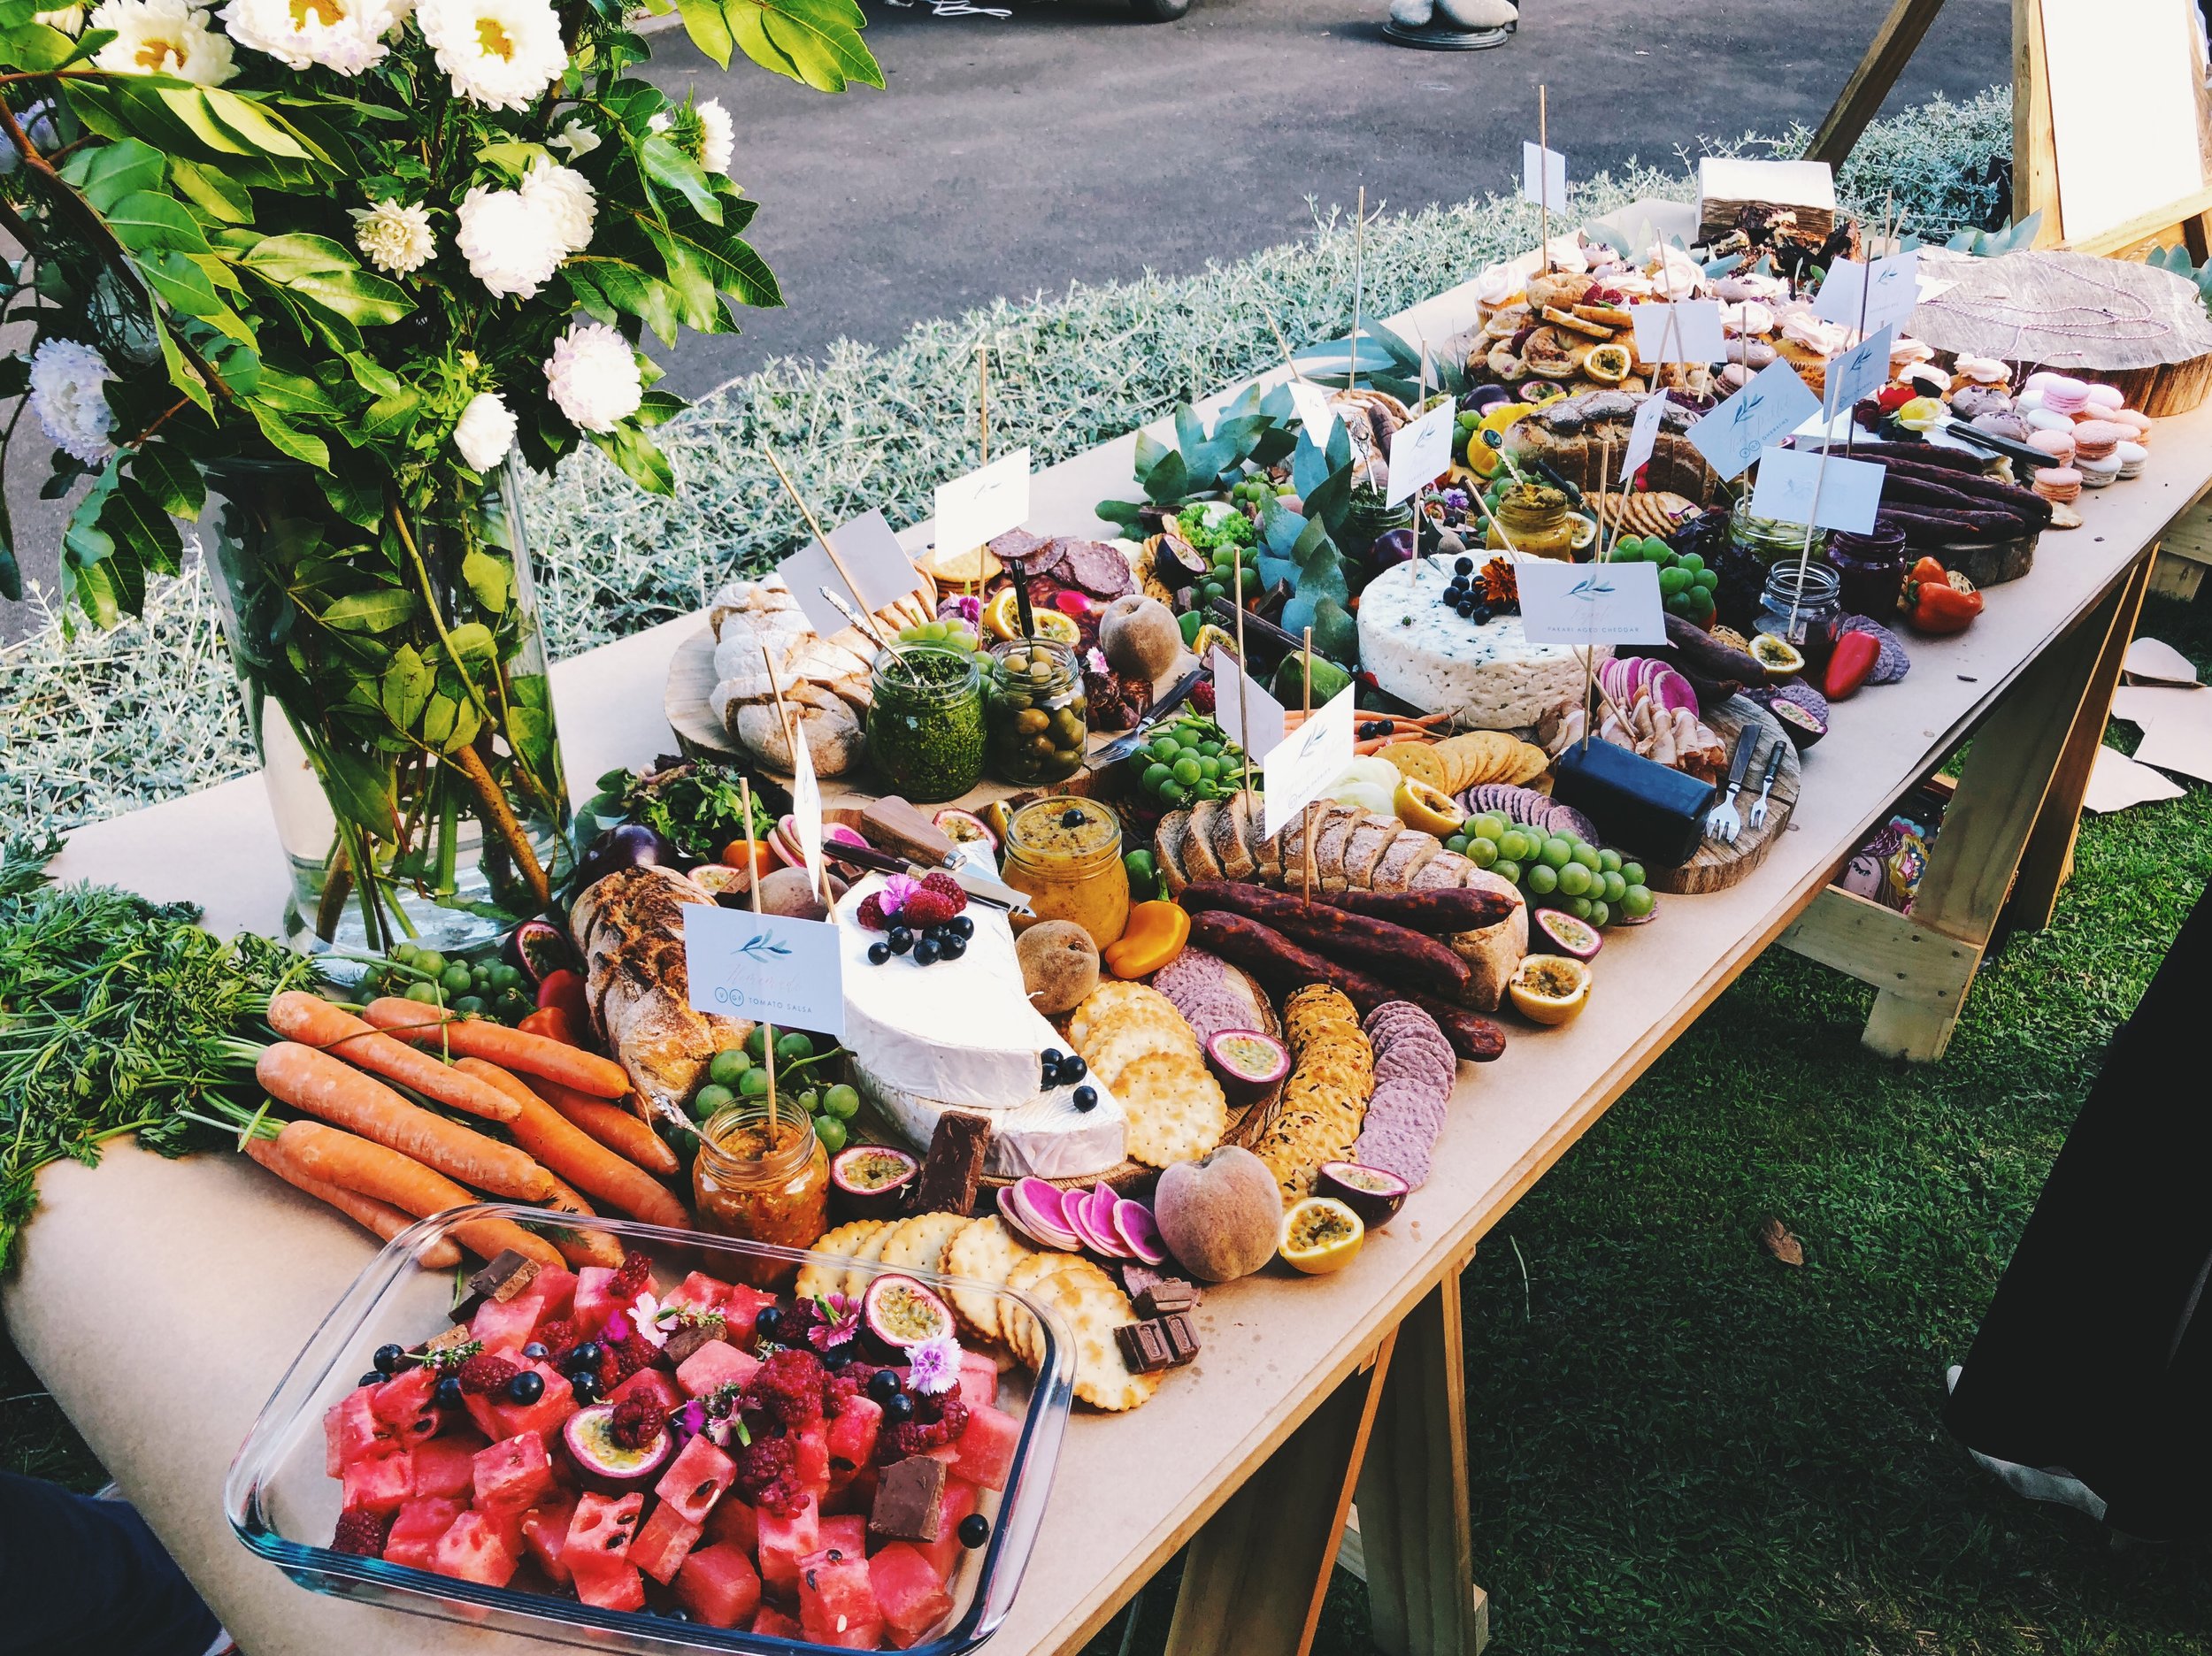
A grazing table is the ultimate crowd-pleaser — it looks stunning, requires minimal cooking, and lets guests help themselves. Whether you're hosting a party, holiday gathering, or casual get-together, a well-built grazing table will be the centerpiece everyone remembers.
Choose Your Base
Start with a large wooden board, slate, or even butcher paper spread across your table. The bigger, the better — grazing tables are meant to be abundant. If you don't have a massive board, cluster several smaller boards together for a similar effect.
Anchor with Bowls and Dips
Place small bowls or ramekins at different points across the table. Fill them with dips (hummus, tzatziki, olive tapenade), spreads (fig jam, honey, mustard), and loose items like nuts or olives. These act as visual anchors and prevent everything from rolling around.
Add the Cheese
Aim for 3-5 different cheeses with varying textures and flavors: a soft cheese (brie or goat cheese), a hard cheese (aged cheddar or parmesan), a blue cheese, and something mild (mozzarella or havarti). Cut some into slices and leave others whole for guests to cut themselves. Scatter cheese cubes for easy grabbing.
Layer the Charcuterie
Fold, roll, or ruffle slices of cured meats like prosciutto, salami, chorizo, and pepperoni. Arrange them in waves or fan shapes around the board. Mix colors and textures for visual interest — a pale prosciutto next to a dark salami creates contrast.
Fill Gaps with Crackers and Bread
Tuck crackers, breadsticks, sliced baguette, and flatbreads into the remaining spaces. Stand some crackers upright in small clusters to add height. Include gluten-free options if needed.
Add Fresh and Dried Fruit
Grapes, figs, apple slices, berries, and dried apricots add sweetness and color. Fresh fruit should be placed shortly before serving to prevent browning. Dried fruit can go out earlier and won't wilt.
Finish with Garnishes
Fresh herbs (rosemary, thyme), edible flowers, and strategically placed nuts fill the final gaps and make the table look lush and intentional. A small dish of flaky sea salt next to the cheese is a nice touch.
Serve at Room Temperature
Take cheese out of the fridge 30-60 minutes before serving so it softens and the flavors develop. Assemble the table right before guests arrive, but don't stress about perfection — the beauty is in the abundance.
💡 Pro Tips
- Budget tip: Skip the fancy cheese board and use parchment or butcher paper directly on the table for easy cleanup.
- Use odd numbers when arranging items (3 types of crackers, 5 cheeses) — it looks more natural.
- Include something pickled (cornichons, pickled onions) for acidity to balance the rich cheese and meat.
- Label cheeses with small cards or chalk labels so guests know what they're eating.
- Make it seasonal: fall = apples and walnuts, summer = berries and basil, winter = dried cranberries and rosemary.